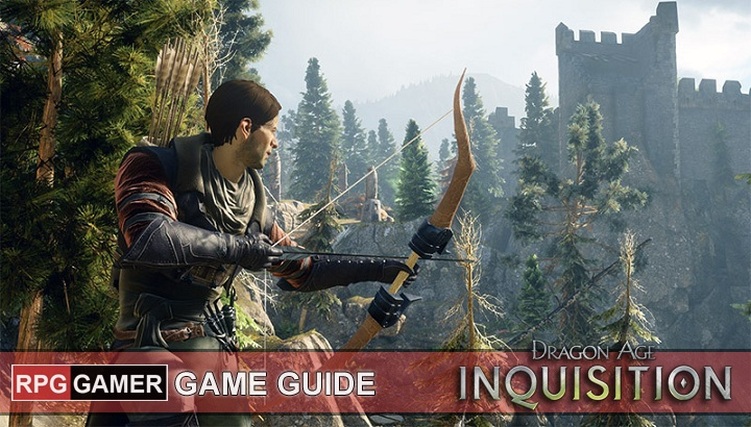
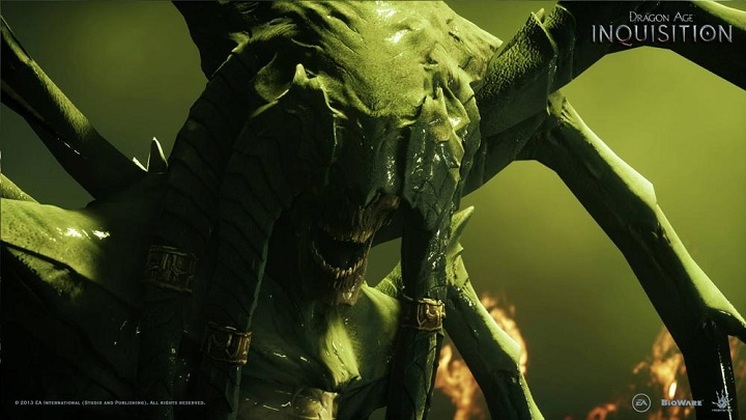
To some players, completing a game on the hardest difficulty is just another achievement under the belt; for others (such as myself) playing a game on the hardest difficulty is a way of celebrating all that the game has to offer. Regardless of what sort of player you are, there are few things more satisfying than finishing a game on the hardest difficulty and seeing that achievement (or trophy, for you PSNers) pop up on the screen. Dragon Age: Inquisition is no exception. And whether you're a newcomer to the series or a seasoned veteran looking for a challenge, nightmare difficulty is not for the faint of heart or unprepared.
Comments
This walkthrough was written during my third time going through the game. The party I used this time was as follows:
Written by Dan Simpson | Email: [email protected] This party has just about everything you could possibly want. It comes with two Healers (Cleric/Ranger and Paladin) two Mages (Conjurer and Bard) and five melee-ready warriors. Two concerns with this party are the Conjurer getting himself killed in battle, and the amount of multi- classing makes leveling up slower. To address the first concern, I will start out with a fighter, and dual him to Conjurer later. Dualling at level 2 is quicker, but level 3 gives another proficiency point. Location Note Throughout the walkthrough, I use various locations listed in the (x 900 y 400) format. This means that what I am talking about is 900 pixels from the left and 400 from the top. To find your location press the X button on your keyboard. This displays the x,y at the mouse cursor. You can change the location key to anything you want by opening the Icewind Dale Configuration Program in the start menu. Experience Note To get the amount of experience gained in a quest to display (the default option will say only that you gained experience, not how much was gained), you need to download the 1.06 patch, and follow the instructions in the readme. Also, the experiences that I get may not exactly correspond to those you may get. Traps Note I don't make a specific mention in this walkthrough where each and every trap is. Although this would be very useful, I just don't have the time to research it. However, it is safe to assume that every dungeon is heavily trapped, and requires a thief with Detect Traps ACTIVE (thieves don't automatically detect traps, you must turn that skill on) to find the traps. Items Note Throughout the walkthrough, I list which items you can get at each and every treasure chest, sack, desk, etc. These items come complete with a brief description. These descriptions are just a brief summary of that items abilities. Patch Note This walkthrough was written using the latest (V1.06) version of the game. There have been three patches released since IWD shipped, so make sure that you have the latest patch. (http://www.interplay.com/icewind/) To go to desired walkthrough simply select one of the options below: *Not yet available Advertisement Table of Contents Note: This guide is for personal use only. All copyrights and trademarks to Baldur's Gate belong to the makers of the game and are acknowledged.
Advertisement This guide has been prepared at the normal difficulty level and with the default history of the world selected, and it offers a very detailed walkthrough for all the quests available in the game. In the first part of this walkthrough, detailed descriptions of the main quests, i.e. missions completed within the storyline, have been included. The second, chapter, includes walkthroughs for the quests connected with your party, both ones that aim at gaining new allies, as well as quests tasked to you, directly, be the members of your party. Some of the main quests exclude each other. This happens, for example, at the beginning of the game, where you need to choose whether you want to complete a quest connected with allying yourself with the Templars or with the rebelling mages. You can start some of the main quests only after you gather enough Power points. You can find information, concerning such limitations, in walkthroughs for the individual quests. Some of the main quests in the game provide you with additional information, on the recommended experience level of the party. Also this kind of information, can be found in this walkthrough. To begin, simply select one of the guides below.
Advertisement |
Social MediaCategories
All
Get Latest RPG |